


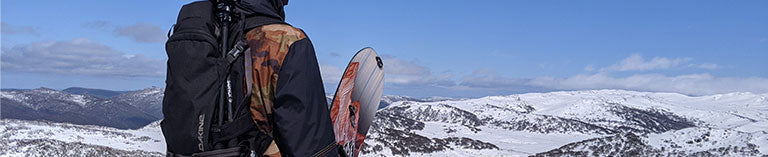


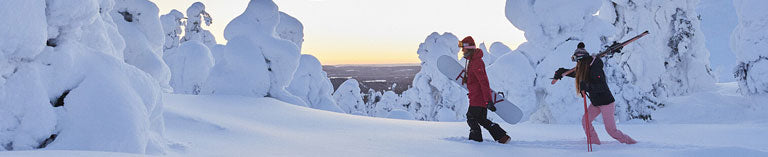


Choosing the right tool for the job
Selecting your backcountry safety toolkit can be an overwhelming experience with the hundreds of styles and shapes on the market today. The differences between products can seem subtle on the surface but have a huge impact when used in the field. In this article I'll try and break down the key differences to help you better understand your own needs.
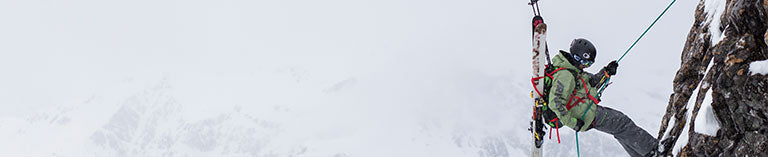
Avalanche Transceivers
Easily the most crucial and technical item in your kit is the avalanche transceiver or "Beacon". This is your ultimate insurance policy if your day turns bad. Sometimes it's hard to justify purchasing a more expensive beacon to save a few bucks because "I'll probably never use it" but I'll go through some reasons to make you think again.
Seconds count!
The statistics on surviving a full avalanche burial are crucial to understanding the importance of your beacon. 93% of victims pulled out in under 15 minutes survive, which is great news if you have your system dialed. From 15 minutes to 30 minutes the survival rate drops dramatically to 30%. Beyond 30 minutes the survival rate tails off, and most victims buried beyond this threshold only survive if they are lucky enough to be buried with an air pocket around their head.
So if we take the golden number at 15 minutes we have to break this down further. Let's take an average burial depth of 1.3m below surface, this equates to approximately 1-1.5 tons of snow to move in order to get the victim out. That takes time, LOTS OF TIME. Digging is going to consume the majority of your 15 minute window, so the faster you can start digging the better your odds. This is where your beacon comes in. You want your beacon to be smart, easy to use and accurate. Go online and read reviews. Spend the time to research why some beacons are better than others. The worst thing that can happen in a search is if you miss the victim on your initial course search pattern as you'll end up at the bottom of the slope and have to then walk back up the hill to search again.
If this happens, your chance of finding the victim alive are very slim. Having the widest search range possible is probably the most crucial thing you want in your beacon. The current industry standard for digital mode is 70m. The Barryvox S is my choice of beacon as it has a 70m range, smart software to distinguish between signal overlap and very clear on screen instructions. This unit, when used in it's factory setting, is the simplest and most powerful beacon for everyone from complete beginner to professional level user. This alone doesn't guarantee success though, the only way you're going to shave seconds and minutes off your search time is by practicing with it. You need to learn how your beacon operates under different conditions. Practice searching for 1 beacon, 2 beacons, 3 beacons. Beacons close together with overlapping signals. Throw in some cell phones close to the beacon and see what happens to the signal. Practice for every conceivable scenario so that if you get thrown into a real situation you've seen it before and you know how to deal with it.
Shovels
A shovel's a shovel right? Well, yeah, but not really. Your shovel is probably the most practical and most used item in your backcountry kit because it isn't just for avalanche burials. I personally like to have a nice big and flat blade with an extendable shaft and D shape handle. The main reason I go for this is to move snow efficiently and fast. This is obviously great from an avalanche burial perspective but I use my shovel daily to dig snow profiles, dig out tent platforms, dig a quick shelter to hide from the wind and even dig out my car. My choice for shovel is the Alugator Pro. Being a large shovel does have a downside in that it takes up a bit of space in your pack, but I can justify this as I'm using it all the time. There is a place for a small shovel though, particularly if you're on a long ski traverse. Generally if you're doing more traverse style ski-touring you're going to be carrying a big heavy pack, so saving space and weight is a big player in your gear choice. A smaller shovel like the Alugator Light is a great option if you're not intending on using it all the time. It's all about identifying what you need it for and how much you'll use it.
"The most common types of avalanches in australia are storm slab, wind slab and loose wet"
Probes
Choosing a probe comes down primarily to where you are touring and the type of snowpack you have. You need to anticipate the type of avalanche you are likely to be dealing with and what length probe you will need. I'll break this down to the 3 most common sized probes:
240CM
A great probe for Aussie backcountry conditions. Avalanches aren't common, but can (and do) happen. The most common types of avalanches in Australia are Storm Slab and Loose Wet. These are generally on the smaller size 1-2. It's very unlikely you'll get an avalanche larger than this and even more unlikely to have deep buried persistent weak layers. Carrying a small probe is practical and will do the job just fine.
280CM
This mid length is a good all-rounder for people who go touring in Aussie and other parts of the world. Places that have a deeper snow pack or complex snowpack require a slightly longer probe because the chance of a deeper burial is increased. This gives you a bit more probing depth but still isn't overly big and heavy. My pick for a go-anywhere probe.
320CM
For professional users or recreationalists entering high avalanche danger with deep complex snow packs you should definitely be carrying a 320 probe. This is not the best choice if most of your touring is done in Australia as it is a bit bigger and heavier in your pack, but perfect as a dedicated prob for big overseas missions. Think Alaska, Japan, Europe and New Zealand.
Carbon VS. Aluminium
This one does divide some people but there are strong arguments for both materials. Carbon is very light and very strong, but is more expensive and harder to repair if it breaks in the field. A perfect choice for someone who likes to travel light and fast on long ski traverses. Aluminium is slightly heavier and still quite strong, but its cheaper and quite robust as it can bend before it breaks. They are also generally easier to repair in the field. I choose aluminium as I use my probe a lot and it gets a few dings from probing for rocks and testing snow but still works fine.
This article featured in our 2022 Rhythm Magazine, explore more featured articles here!