


waxing your snowboard or skis at home
Video tutorials on how to wax are linked at the bottom.
How to tell when your equipment needs a wax?
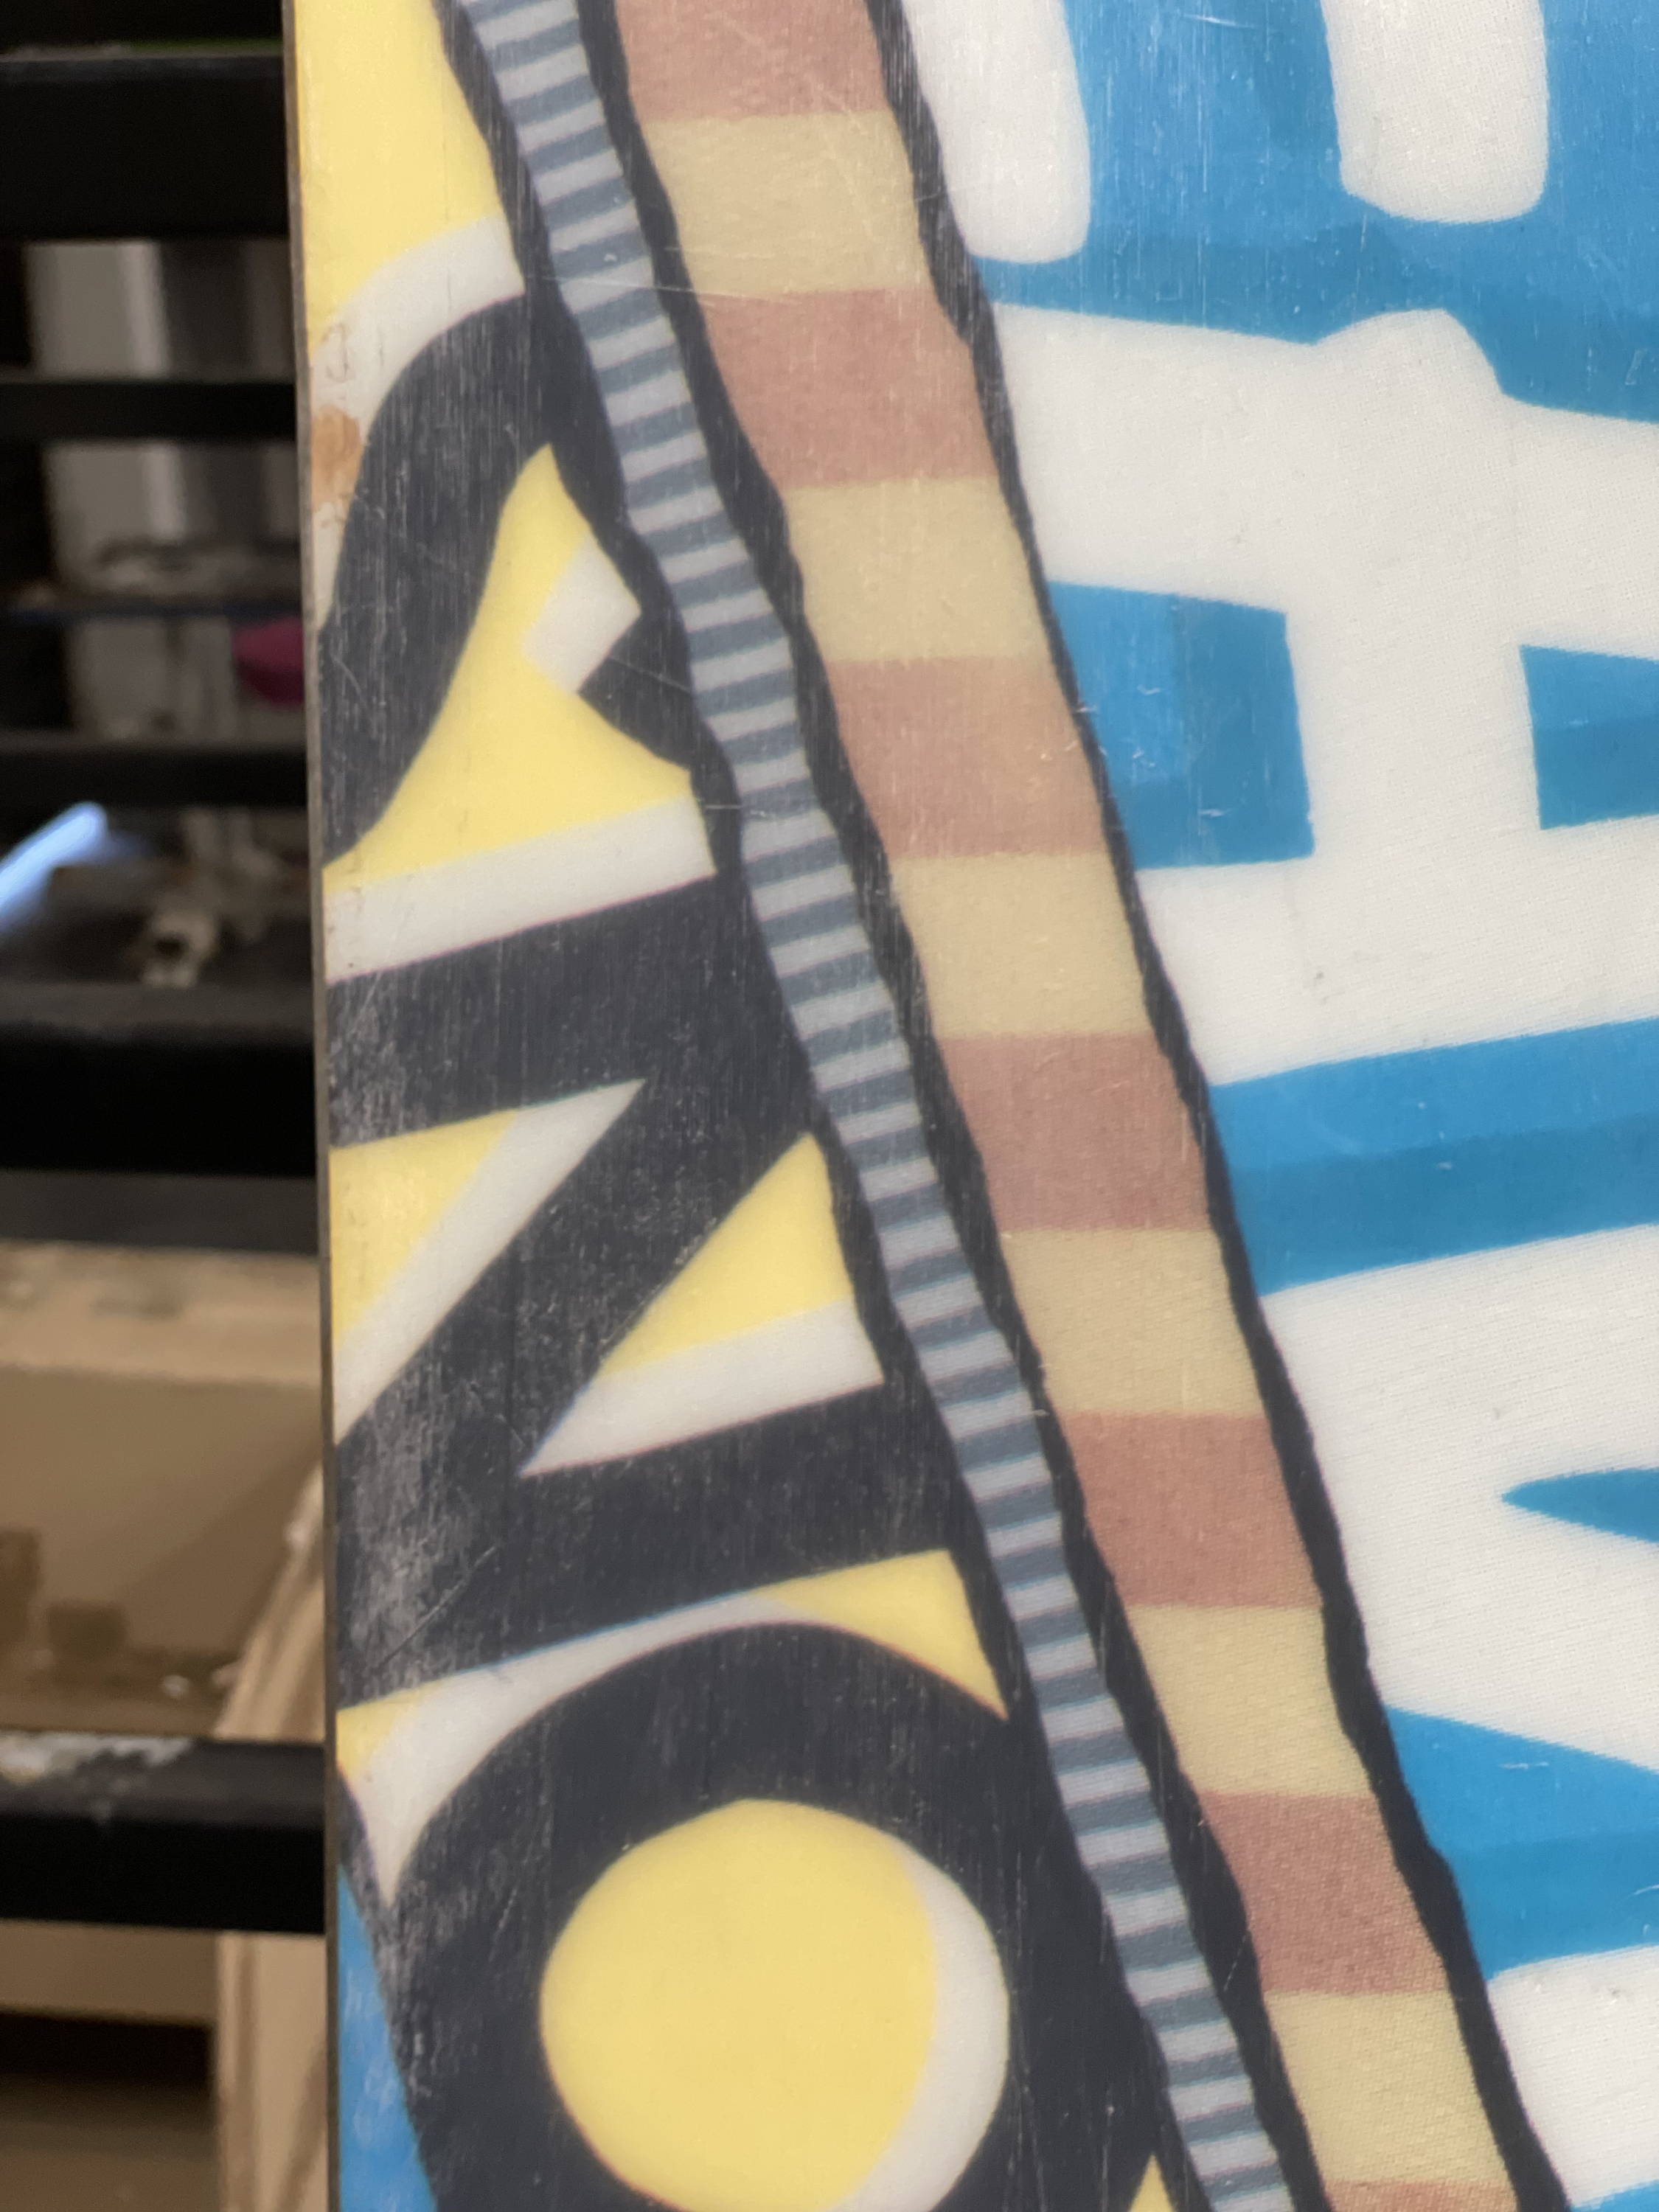
To tell if your skis or board needs a wax, by looking and feeling at the base you can usually tell. If your base is faded, and/or has white streaks, like the photo to your right - it needs some wax. The base to touch will be sticky, compared to when its smooth to touch after its been waxed
Sometimes though it may not do this, but in this case you will be able to feel it while riding on snow. Your equipment will feel sluggish and sticky underneath your feet and this is a good indicator that your equipment may need a wax!
Setting up your Workspace
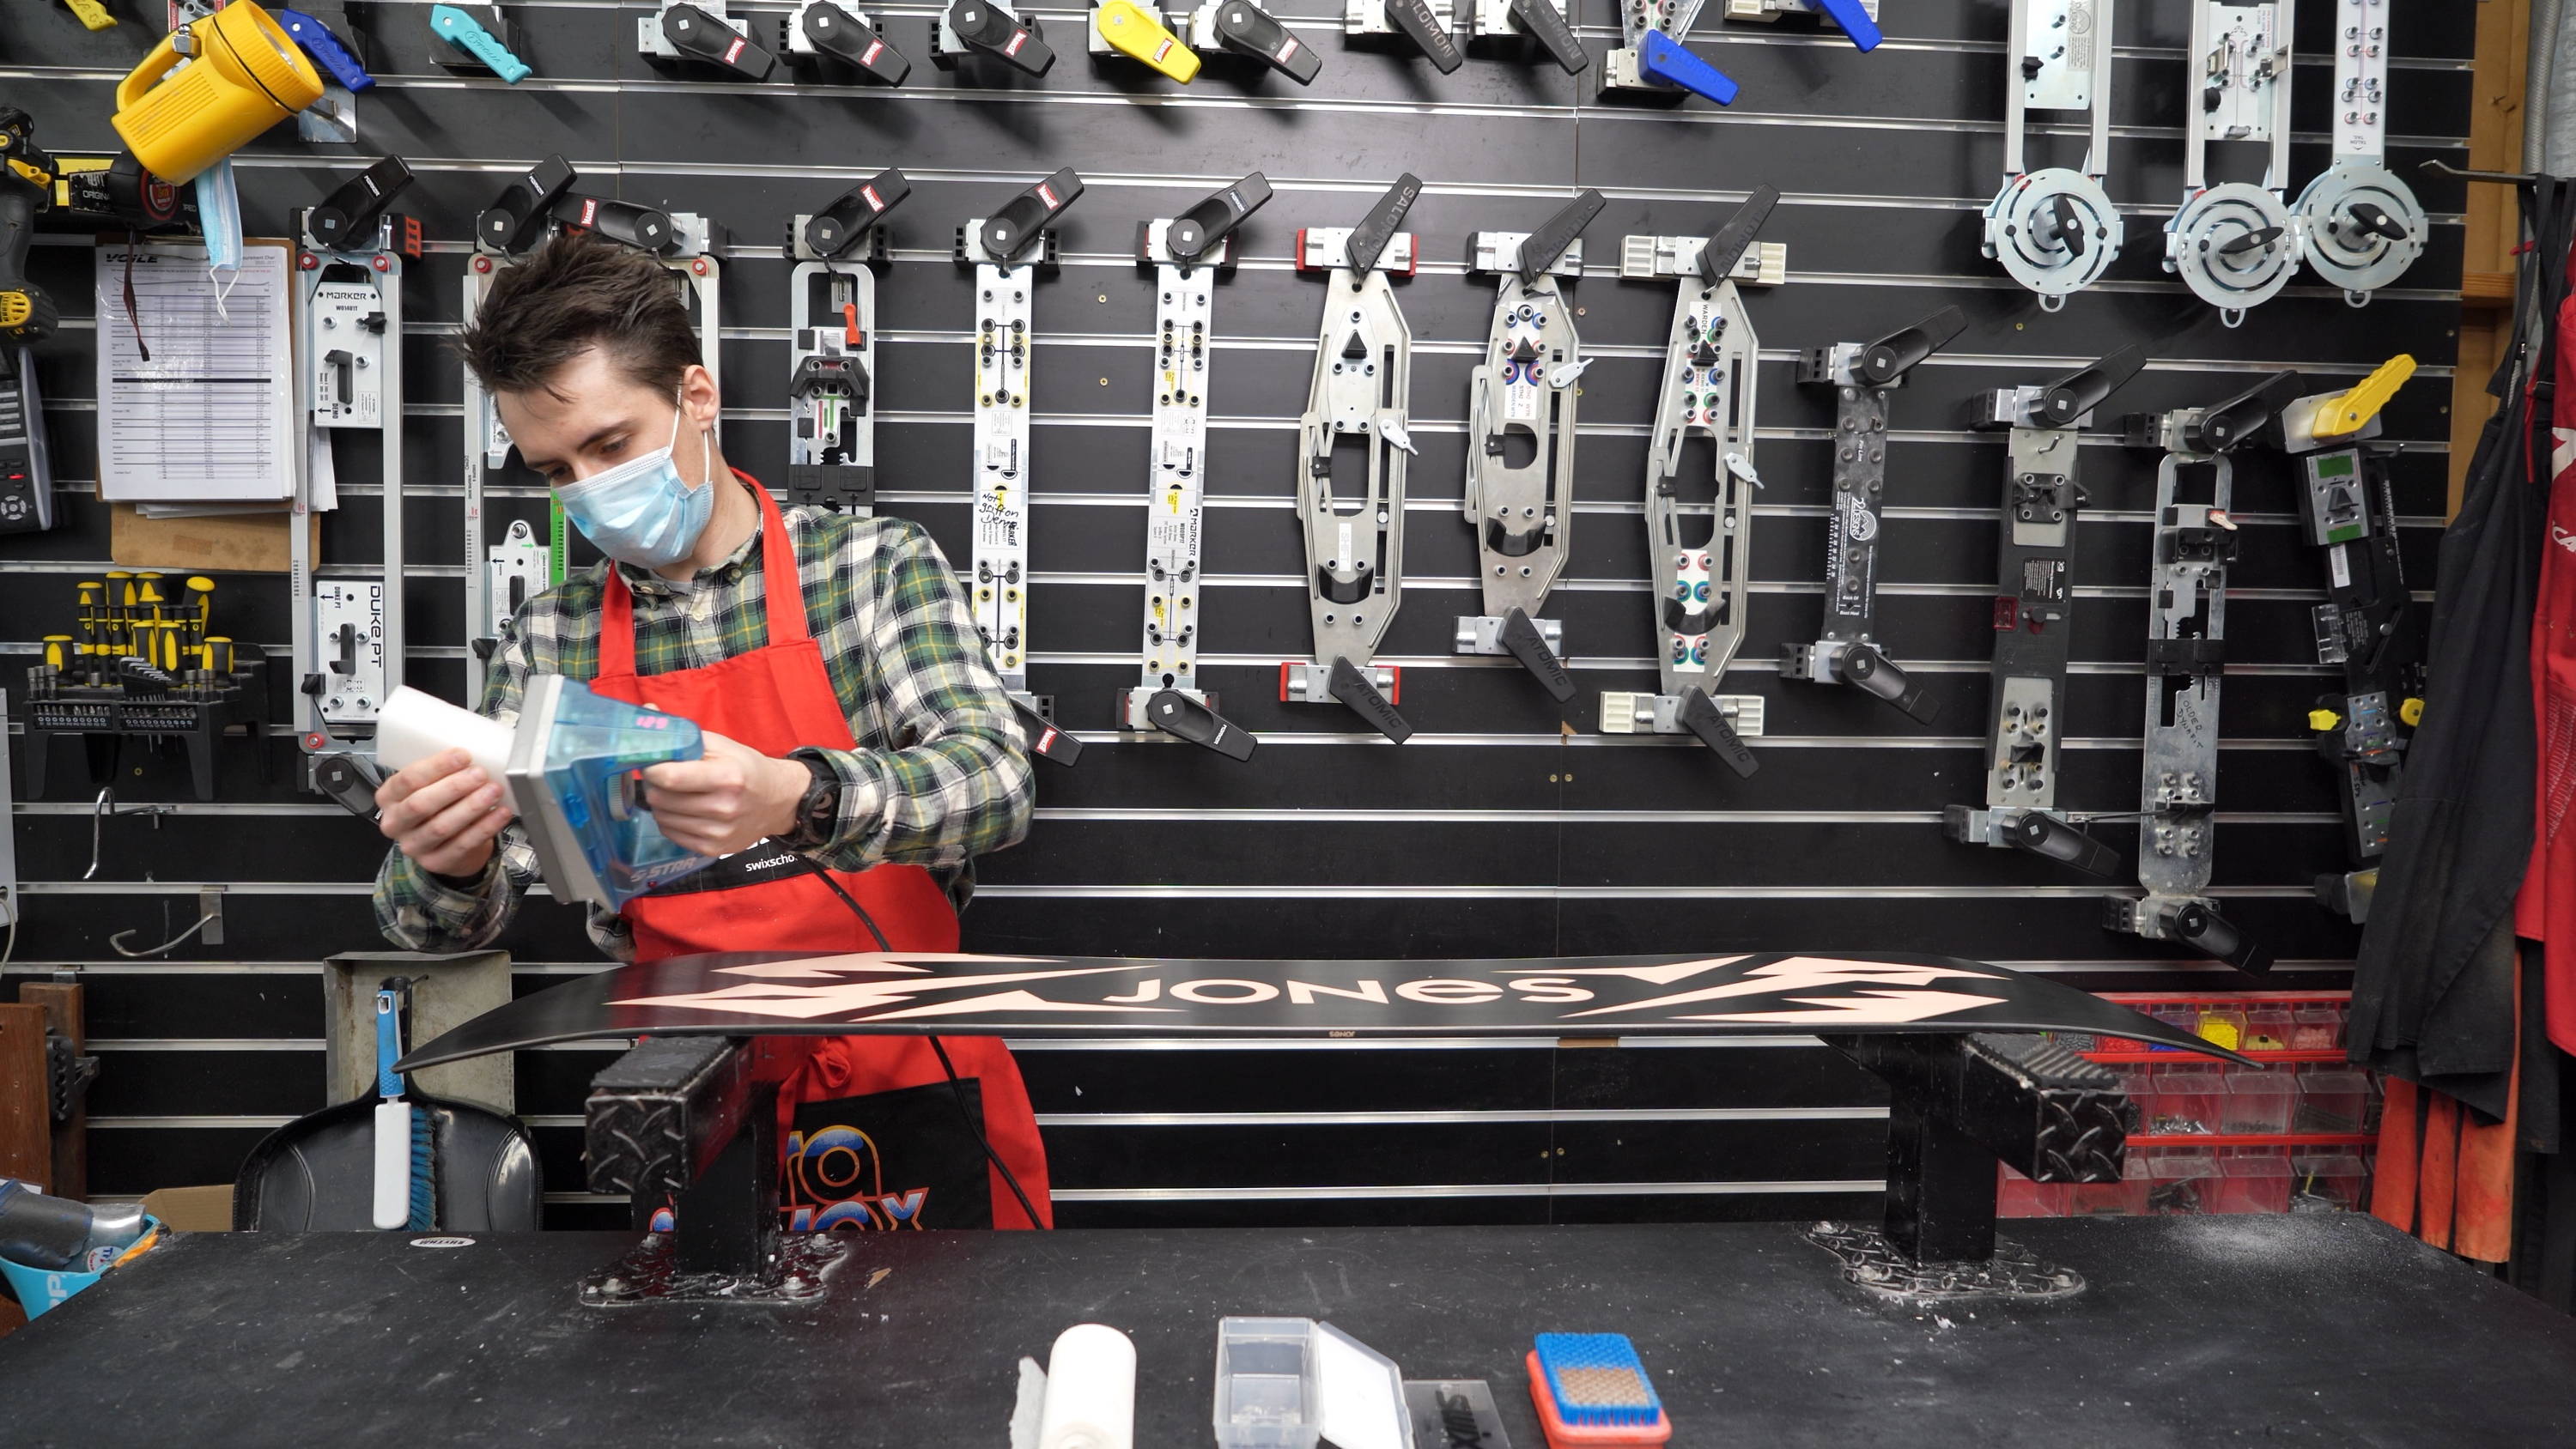
When Starting to Set up your workspace, the first thing is to find a space with a nice room temperature with close access to a power plug for your Waxing Iron. Being in a room with nice temperature keeps the iron at an even temperature making it easier to apply wax.
The next Item to setup is your Vises. Make sure the vises are secured tight to a solid table top. Make sure you have a rubbish bag or bin near by so any excess wax or edge shavings can be thrown away easily.
And final your basic wax kit, being able to quickly and easily access your waxing equipment makes tuning easier.
Basic Wax Kit
How to Apply Wax
1. Check the edges of your equipment, making sure there are no burs on the edges as this can damage your Iron. If there is apply a Gummy stone to flattening them out before you start waxing.
2. Using the Bronze half of the Combi Swix Brush, brush out any old wax and dirt particles, then repeat with the Nylon half.
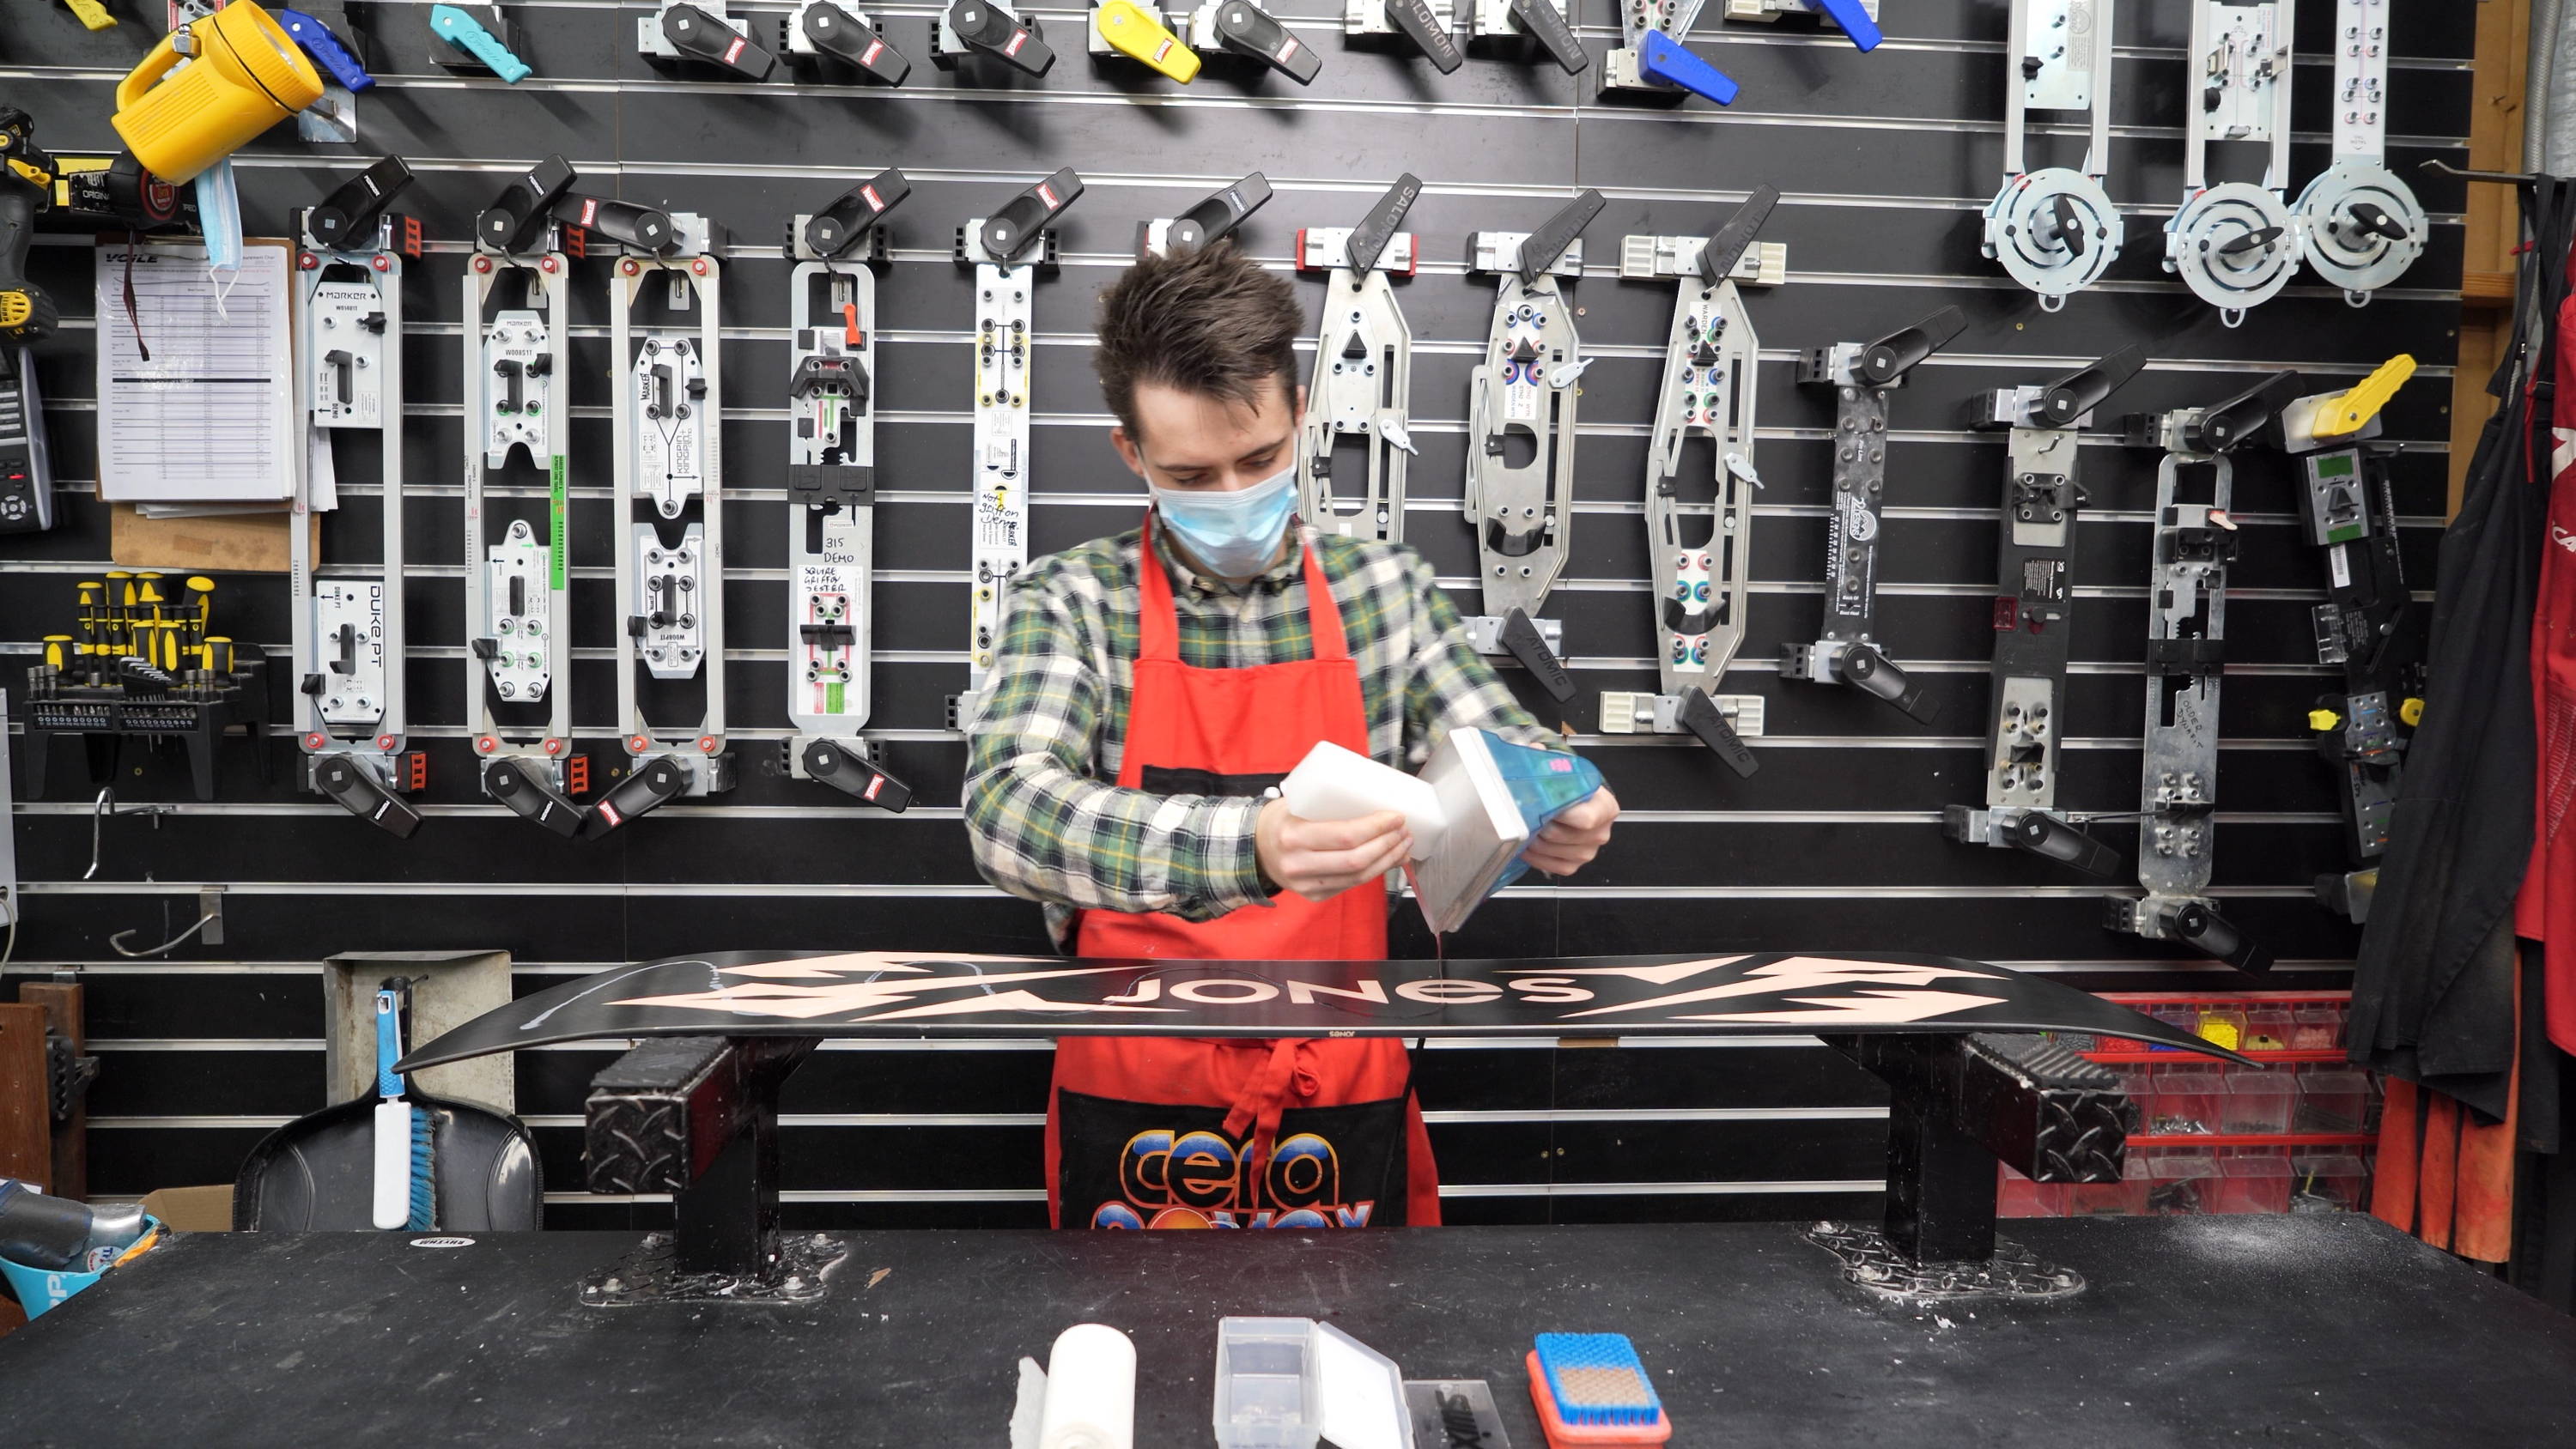
3. Check the wax box for the required temperature for your Iron and wait till it reaches temperature.
4. When the Iron reaches temperature, drip the wax evening from tip to tail of your Ski’s/Board.
5. Once dripped on evenly, spread the wax across the entire base with the iron, until it looks smooth.
TIP: Make sure you don’t keep the iron in a single place for too long, doing so can damaged the base material or burn it.
6. Wait 15 minutes for the base too cool down before scraping
7. Once cooled down scrape off all the excess wax of the base of your ski’s/board
8. Again using the Combi Brush use the Bronze half to take off large wax particles then repeat with the Nylon half until polished
9. You’re equipment is prep’d and ready to take on the hill.